
Create and export a procedural city
Build a reusable asset library, lay out roads and terrain, preserve editable project state and export only the city resources the next tool needs.
Last updated: 28 July 2026
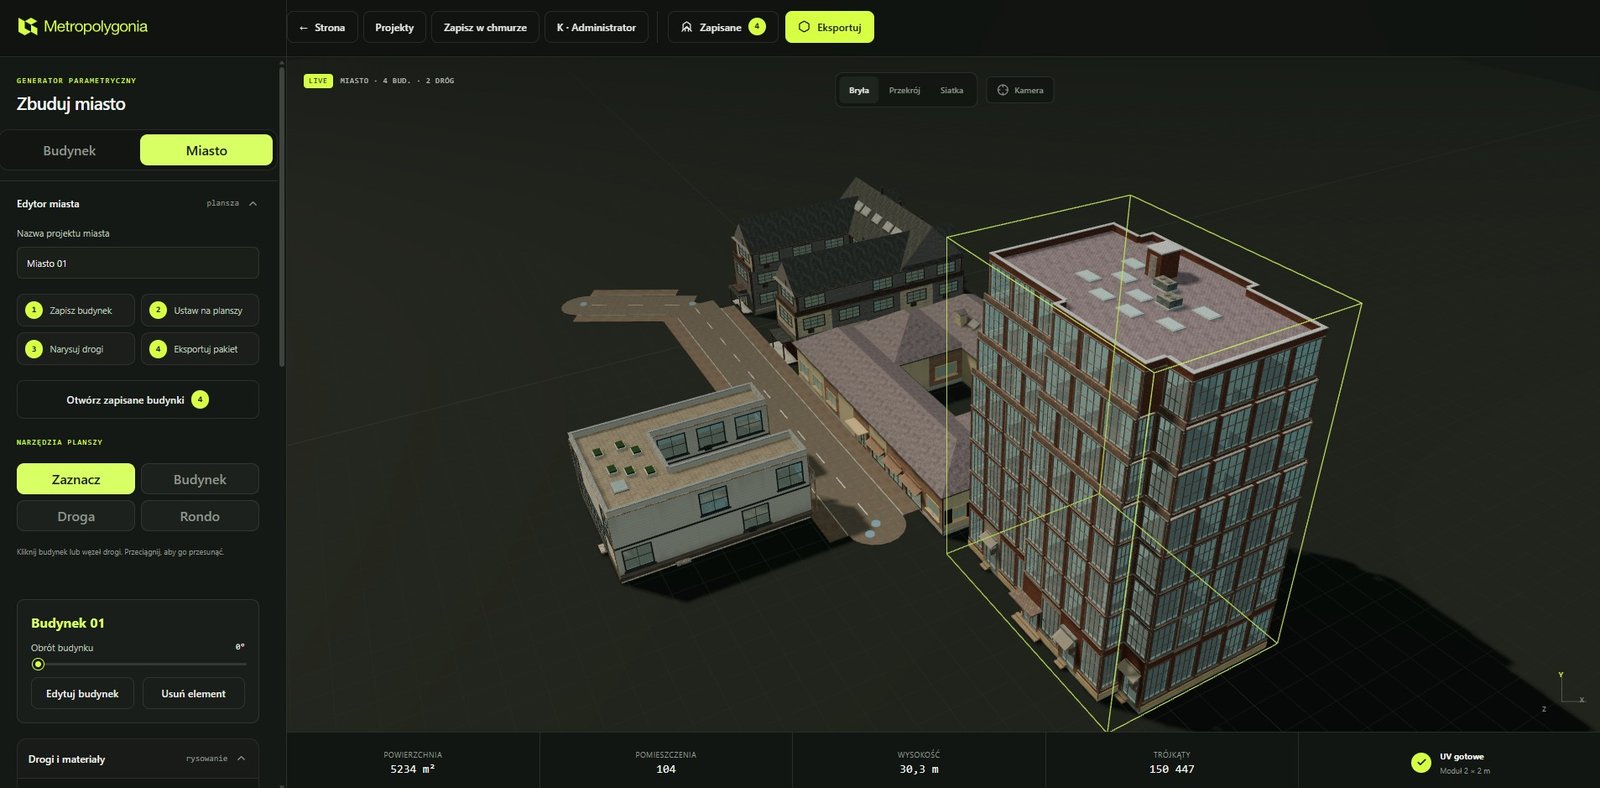
Keep source projects and delivery files separate
The building and city JSON files preserve editable parameters. GLB, glTF, OBJ, STL and city ZIP packages are delivery outputs. Keep the source JSON with the export so a later correction can be regenerated instead of reverse-engineered from a mesh.
Changing the interface language changes display labels only. Enum values, manifest keys, material IDs, units and project JSON keys remain unchanged.
From building to city package
Create or generate a building
In the Building workspace, set the footprint, dimensions, floors, façade systems, roof, materials and optional interiors. Keep the seed when the variation must be reproduced.
Save the building to the project library
Use Save to city. This stores the reusable building definition; it does not flatten the asset into an anonymous city mesh.
Open the city editor
Switch to the City workspace. Start from an empty layout or use the verified district controls when a generated starting arrangement is useful.
Place saved buildings
Select a library entry, place it, then adjust its position and rotation. Reuse one definition for multiple placements where appropriate.
Draw roads and roundabouts
Use the road tool for connected straight or curved segments. Configure road and sidewalk dimensions, connect intersections and add roundabouts explicitly. Inspect dense junctions after editing.
Adjust terrain where supported
Use elevation controls, heightmap PNG input or sculpt tools exposed by the current terrain panel. Road cut/fill corridors can reconcile the road with nearby terrain; steep or unusual inputs need visual review.
Add foundations or city stairs
Use foundations to resolve building-to-ground transitions and city stairs for selected level changes. They are visual procedural geometry, not engineering calculations.
Save the city project
Export city project JSON before producing final assets. Reload it once when the project is important, so a damaged or incomplete source file is caught early.
Export the city package
Choose a full package for the selected complete scope, or an incremental package for explicitly selected dirty chunks. Incremental delivery assumes the receiving pipeline retains previous resources.
Inspect the manifest
Open
manifest.metropolygonia-city.json. VerifymanifestVersion,units, bounds,exportScope, building transforms, resources andoriginMetersbefore automation consumes it.Validate in the target application
Import one representative building and one infrastructure chunk first. Confirm scale, normals, material slots, UVs, origins and transforms before processing the entire package.
Place chunk-local resources correctly
The current manifest version is 3. Terrain, road and infrastructure GLBs can be partitioned into physical chunks. Their vertices are local to the recorded originMeters; place the resource at that origin in the receiving scene. Buildings retain independent pivots and transforms recorded in the manifest.
For an incremental package, inspect exportScope.includedChunkIds. The archive may contain only changed resource files even though the manifest retains the complete chunk index for context. Replace matching resources atomically and preserve files that were not included.
Verify the handoff
- A known footprint, doorway or storey has the intended metric dimension.
- Building placement matches the manifest transform.
- Chunk resources align when placed at
originMeters. - Material slots and stable IDs are distinguishable.
- UV scale is appropriate for the chosen texture library.
- Collision, LOD, lighting and runtime optimisation are configured downstream.
For format boundaries, continue to Export formats. For Unreal-specific validation, use Export to Unreal Engine.